

Typing Insights in Windows 11 allows you to view data related to your typing behavior, which can be leveraged to improve your workflow. However, if privacy or performance is a concern or you simply want a cleaner experience, you can enable or disable this feature with the methods outlined in this guide.
Methods for changing Typing Insights preferences
Use the table to choose and quickly navigate to your preferred activation steps.
📌 Prerequisites:
- Some methods may require system and network access.
- Active enterprise settings or policies may restrict changes.
|
Choose a Method |
💻
Best for Individual Users |
💻💻💻
Best for Enterprises |
| Method 1: Windows Settings | ✓ | |
| Method 2: Windows Registry | ✓ | |
| Method 3: PowerShell script | ✓ | |
| Method 4: Group Policy | ✓ |
💡 Tip: Check out the Things to look out for section to optimize your action plan and manage risks.
Method 1: Configure Typing Insights via Settings
This method is best for self-service or Remote Desktop Protocol activation.
📌 Use cases: For general configuration and RDP
- Open Settings from Search 🔎 or press Win + I.
- Navigate to Time & Language → Typing → Typing Insights.
- Toggle the on and off switch to manage your preferences.
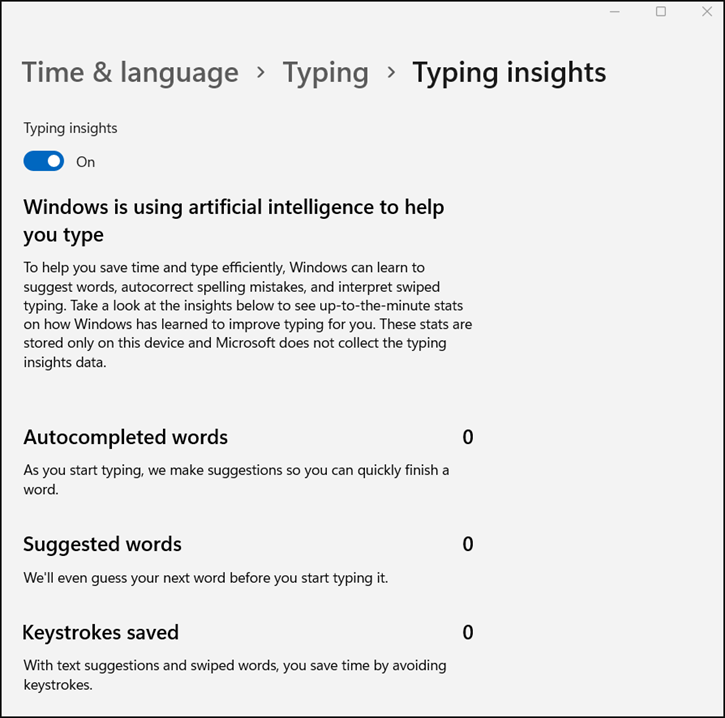
The changes made via Windows Settings will not require administrative privileges and will only apply per user.
Method 2: Configure Typing Insights via Registry
Advanced users can use the Windows Registry to configure personal or managed devices.
📌 Use cases: For systems without GPO access; setting policies not supported via GPO
- Press Win + R, type regedit, and tap OK to open the Registry Editor.
- Navigate to or copy and paste the following path to the Registry address bar. If the path is incomplete, create the required key.
- HKEY_CURRENT_USER\Software\Microsoft\Input\Settings
- Modify or create the InsightsEnabled DWORD (32-bit) value.
- Open it and set its Value data according to your preferences.
- 1 = Enable Typing Insights
- 0 = Disable Typing Insights
- Close the Registry Editor.
⚠️ Warning: Editing the registry can cause system issues. Create a registry backup before proceeding.
Method 3: Configure Typing Insights via a PowerShell script
PowerShell scripts are incredibly convenient for task automation and software deployment.
📌 Use case: For automation and RMM scripting.
- Use Search 🔎 to open Terminal → PowerShell → Run as administrator.
- Run the following command:
- To enable Typing Insights:
Set-ItemProperty -Path “HKCU:\Software\Microsoft\Input\Settings” -Name “InsightsEnabled” -Value 1 -Type DWord - To disable it:
Set-ItemProperty -Path “HKCU:\Software\Microsoft\Input\Settings” -Name “InsightsEnabled” -Value 0 -Type DWord
- To enable Typing Insights:
- Identify the PackageFullName of the speech pack language you intend to uninstall.
- Restart the device to apply the changes.
💡 Note: This script may run or fail without displaying any confirmation or prompt. To confirm if changes have been applied successfully, check the corresponding Registry keys or system settings.
Method 4: Configure Typing Insights via Local Policy
The Local Group Policy Editor is exclusive to Windows 11 Pro, Enterprise, or Education editions. If a conflict is detected between two policies, the local policy will be overruled by Group Policy in Active Directory.
📌 Use cases: For enterprise and system-wide deployments
📌 Prerequisites: Administrative Templates for Windows 11 must be installed.
- Press Win + R, type gpedit.msc, and tap OK to open Local Group Policy Editor.
- Navigate to Computer Configuration → Administrative Templates → Windows
- Components → Text Input.
- Double-click the Improve inking and typing recognition policy.
- Set to Enabled or Disabled based on your preference.
You can run the gpupdate /force command to apply the changes immediately. Otherwise, the new settings will be applied on the next interval.
💡 Tip: Watch this GPUpdate video demonstration for a visual reference.
⚠️ Things to look out for when configuring Typing Insights
Missing something? Consider these scenarios and tips for handling errors, preventing system issues, and reinforcing policies.
| Risks | Potential Consequences | Reversals |
| GPO conflicts with local settings | GPO overrides user changes | The GPO setting must be changed to re-enable. |
| Disabling Typing Insights mid-session | Changes may not take effect until the next sign-in. | Save your work and restart the computer to confirm the changes. |
If Typing Insights remains active after updating your preferences, ensure that no conflicting policies override the setting. You can also go to the Registry and confirm that the InsightsEnabled value reflects the desired configuration.
Best practices for managing Typing Insights
Preventing the collection of typing statistics by disabling Typing Insights is a good way to manage user data and privacy. Along with this, you can consider switching off Personal inking and typing dictionary to prevent cloud-based text learning, which you can find via Settings → Privacy & security → Inking & typing personalization.
For deployment strategies, Windows Settings is a straightforward method for managing preferences. Otherwise, Windows Registry and PowerShell both provide more flexibility for advanced users and IT managers. GPO, meanwhile, offers the best path for enforcing policies across the IT network and for managing endpoints en masse.


